

 When you don’t have time to wash a tile floor, baking soda is a quick, easy, non-abrasive floor cleaner and polisher. A homemade scouring powder made with a mixture of baking soda and Borax is also a good choice with the additional benefit that it discourages bugs.
Sprinkle baking soda onto the tile and grout lines. Push it with your broom into corners and crevices. Sweep the soda into your dust bin. Toss the soiled baking soda into the bathroom wastebasket where it will continue to help fight bathroom odors.
The baking soda will turn dark with the debris it picks up. This even works well on dried on stains and bits of hair. The baking soda clings to all of it and dries even oily residues so that they can be swept away. If you’re tired of reaching around the base of bathroom fixtures to get hard-to-reach areas, this makes things much easier.
One of my readers was dealing with stubborn black stains in the grout lines of her bathtub wall tiles.
Those stubborn stains are most often caused by mold, mildew and hard water. Baking soda addresses all of these issues as it is a water softener and it releases carbon dioxide from the surface, killing organisms that thrive in an anaerobic (without oxygen) environment.
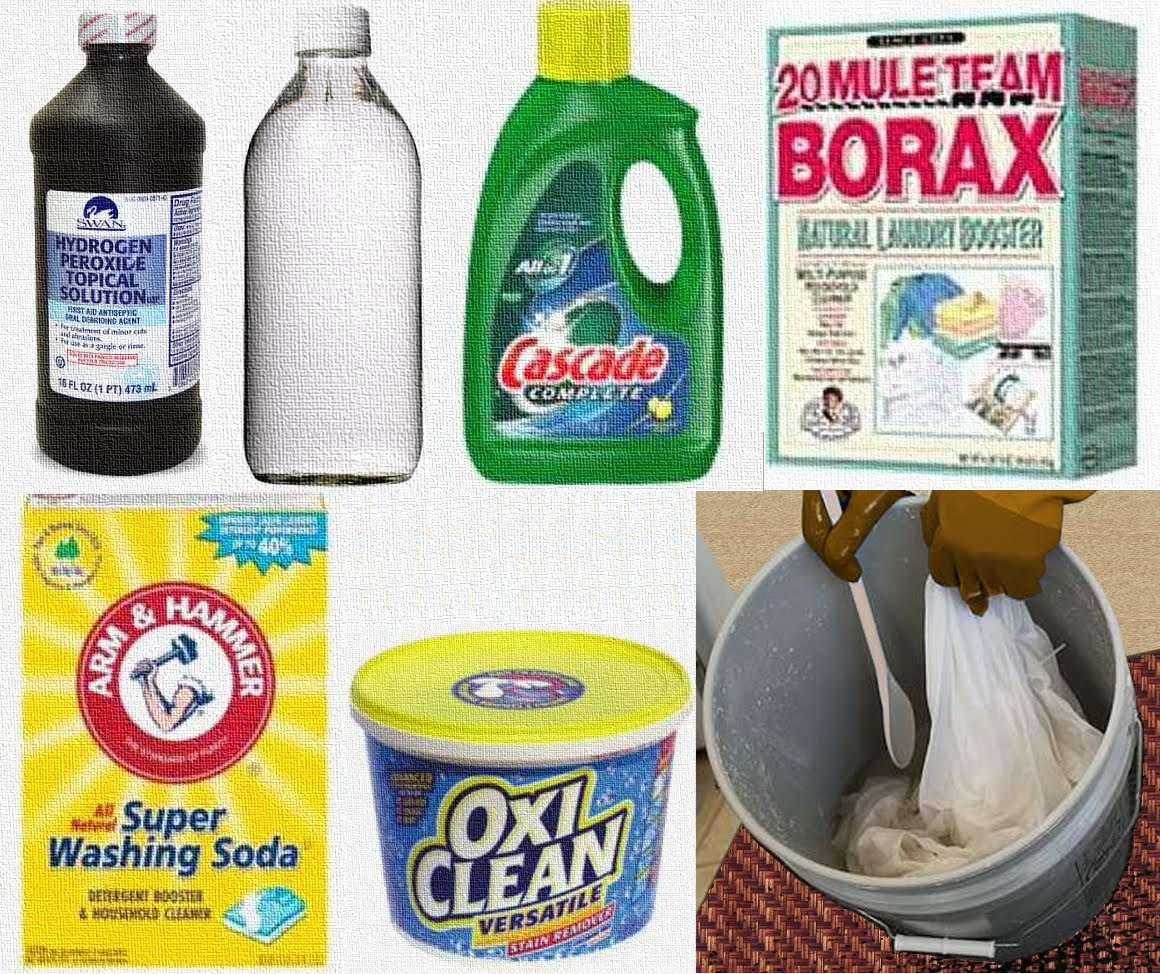
Make a paste with baking soda and water. Apply the paste to the grout with an old toothbrush. For really stubborn areas, make the paste with hydrogen peroxide and baking soda. Let it sit for a while. Come back later and rub the toothbrush over the area and rinse it clean. An effective rinse is to mix vinegar and water.
 The acid in the vinegar further activates the sodium bicarbonate in the baking soda. Wipe the surface dry with a soft cloth.
The vinegar and water also adjusts the pH to a level that discourages mold and mildew from reforming. You can use this as a general surface spray between showers and baths.
Another help is to keep the tub and shower areas free of soap, toiletry bottles, washrags, towels and other items. Store these outside of the tub/shower area. The soap residue provides a place for mold and mildew to grow. The bottles and their storage racks hold water against walls and horizontal surfaces. With these removed, you’ll be better able to hit all of the nooks and crannies when you spray the shower/tub area with your diluted vinegar.
For convenience, use small plastic crates to hold needed supplies. Assign a storage area on a nearby shelf. Then, when someone uses the shower, he/she can just bring along the toiletry box and contents, rather than trying to manage an armload of assorted products.